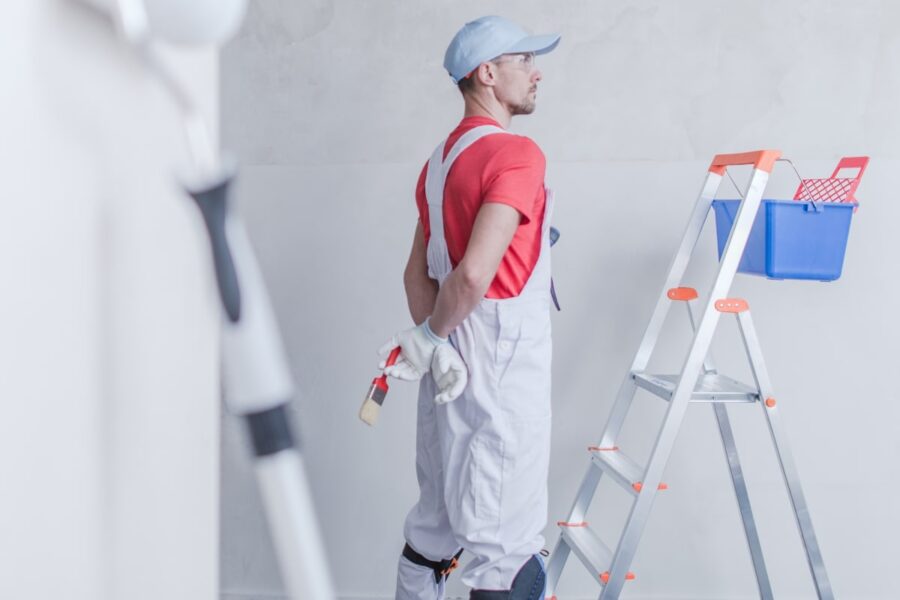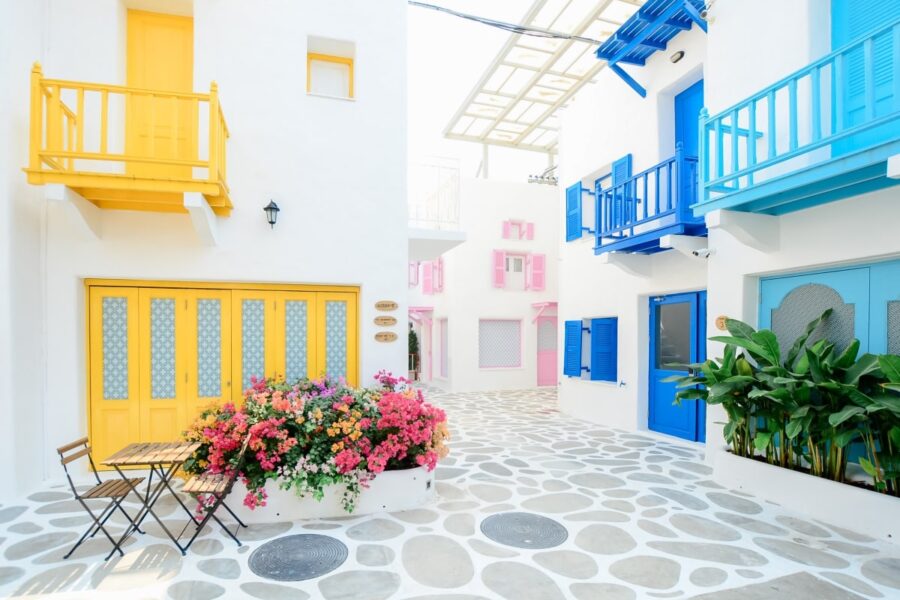
Exterior Painting
Transform the face of your home with our exceptional Exterior Painting service. Our professional team brings your vision to life, providing a fresh, vibrant look to your property that stands the test of time. Using high-quality, weather-resistant paints and materials, we ensure a durable and long-lasting finish that protects your home against the elements. Our skilled painters meticulously prepare surfaces, addressing any repairs or priming needs before applying the perfect coat of paint. We offer a wide range of color options to suit your style, enhancing the curb appeal and value of your property. Whether you're looking to revitalize the current color scheme or completely change the look, our experts can make it happen. Customer satisfaction is our priority, and we work closely with you to understand your preferences and deliver results that exceed your expectations. With a focus on professionalism, reliability, and attention to detail, our exterior painting service will breathe new life into your home, making it a standout in the neighborhood. Elevate the appearance of your residence and safeguard it from the elements with our top-notch Exterior Painting service. Contact us today to schedule a consultation and bring your home improvement dreams to reality.

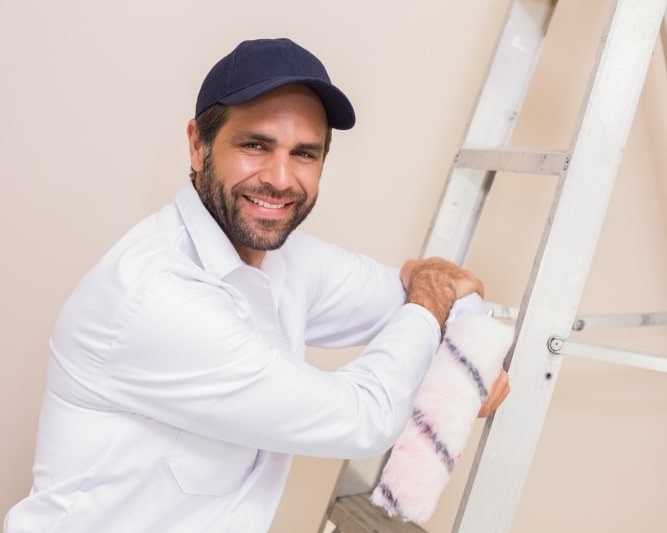
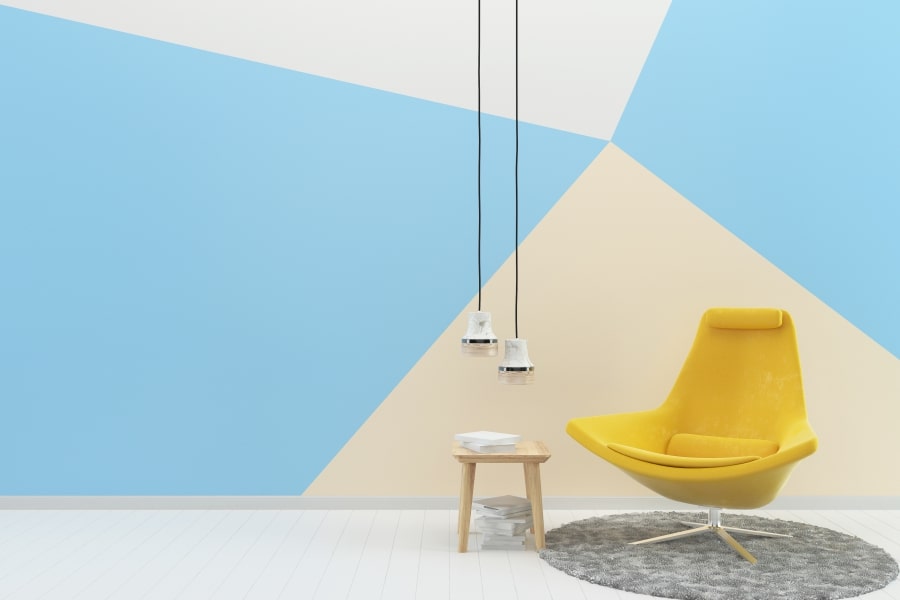
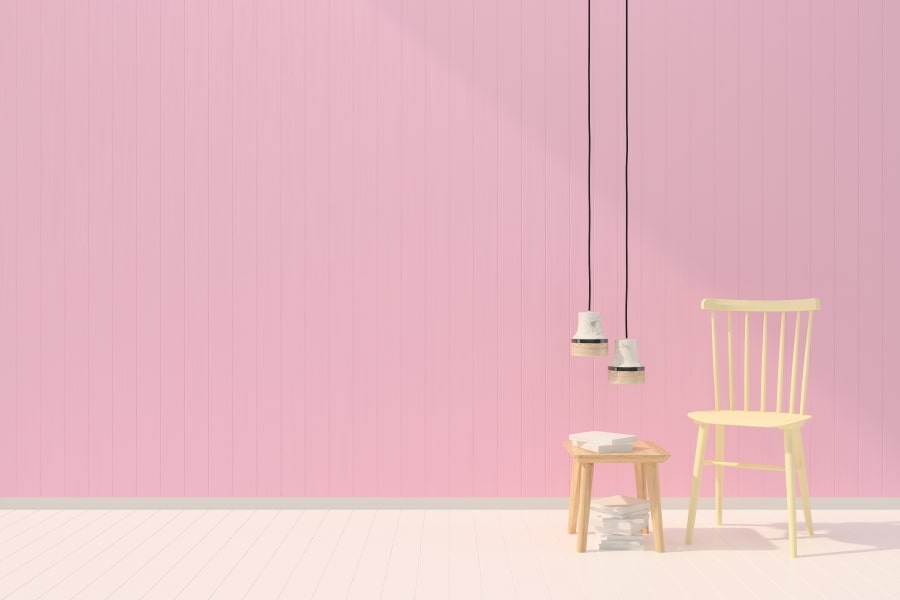
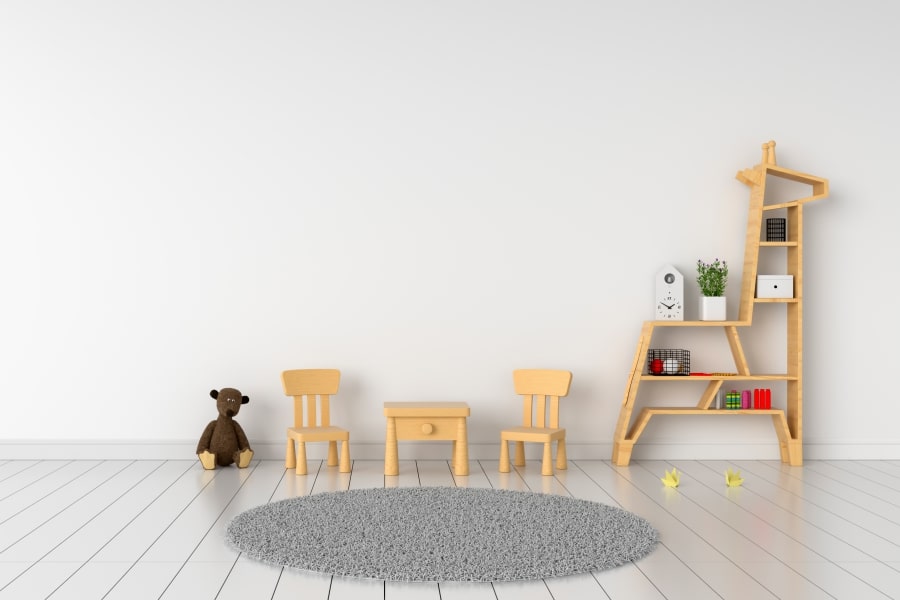
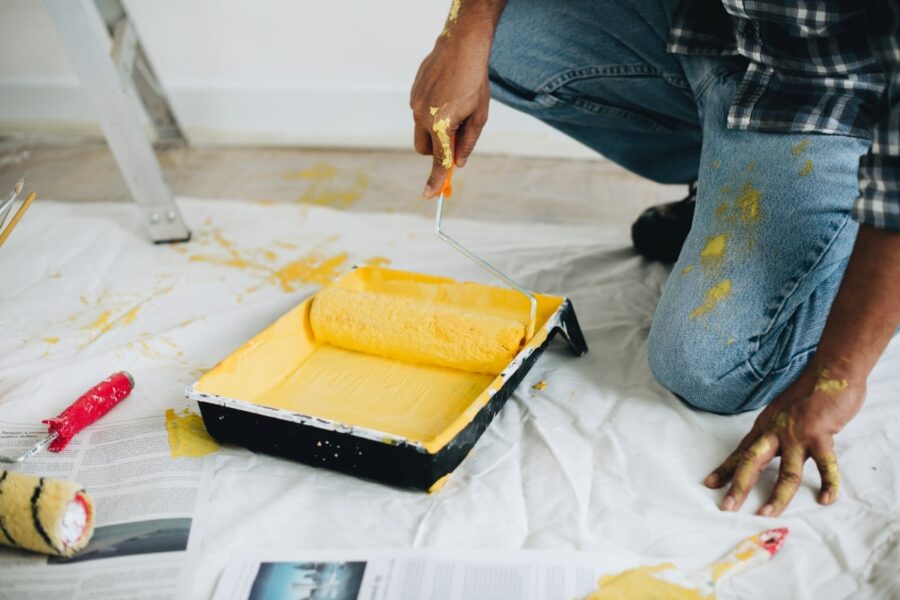
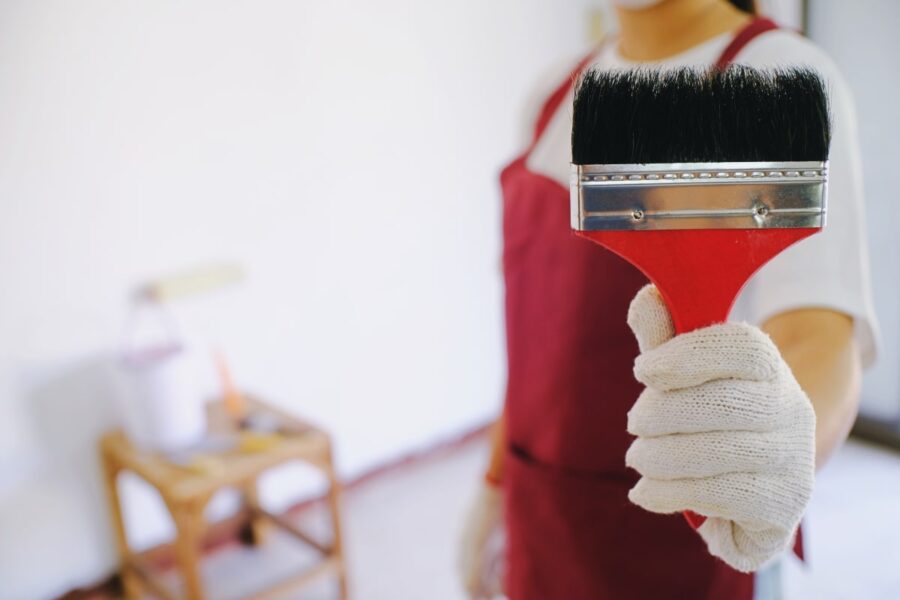
Interior Painting
Sue Jones has over 40 years of painting and design experience. She has been serving the Raleigh and surround areas transforming homes. No project is too big or too small. Transform your living space with our professional interior painting service. Say goodbye to dull, lifeless walls and welcome a fresh, vibrant ambiance into your home. Our skilled team of painters brings expertise and precision to every stroke, ensuring a flawless finish that revitalizes your space. Using high-quality paints in an array of colors, we offer a personalized experience tailored to your preferences. Whether you desire a subtle, calming tone or a bold, statement-making hue, our extensive color palette allows you to create the perfect atmosphere for each room. Our process begins with thorough preparation, including surface cleaning and patching, ensuring a smooth canvas for the paint application. We prioritize attention to detail, protecting your furniture and flooring to guarantee a clean and tidy work environment throughout the project. Not only do we deliver a superior aesthetic appeal, but we also prioritize durability. Our paints are selected for their quality and longevity, providing a lasting, easy-to-maintain finish. Experience the joy of a freshly painted interior without the hassle. Let us handle the transformation, delivering exceptional results that breathe new life into your home. Elevate your living space and create a welcoming, cozy atmosphere with our professional interior painting services.

Power Washing
House, Deck, Concrete, Roof, Fence, Driveway, Sidewalks
Revamp the appearance of your outdoor spaces with our cutting-edge Power Washing System. Say goodbye to dirt, grime, and stubborn stains that have tarnished the beauty of your home, deck, or any exterior surface. Our high-performance power washing technology is specifically designed to restore brilliance to your property effortlessly and efficiently. With our professional-grade power washer, dirt and debris don't stand a chance. It's ideal for cleaning various surfaces, from vinyl siding, brick, and concrete to wooden decks and fences. Unleash the power of pressurized water to eliminate unsightly marks, mold, mildew, and other buildup, leaving your surfaces looking refreshed and inviting. This power washing system is user-friendly and incredibly effective. The adjustable pressure settings cater to different surface types, ensuring a gentle yet thorough clean without causing damage. Whether you're tackling a small residential area or a larger commercial space, our power washer is adaptable and powerful enough to handle any job. In addition to its exceptional cleaning prowess, our power washer is built with efficiency and convenience in mind. It's designed for ease of use, with a compact and portable build that allows you to move around freely without hassle. The ergonomic design and user-friendly features make it suitable for both professionals and homeowners looking to spruce up their properties with minimal effort. Experience the transformation as your home exterior, deck, or patio undergoes a rejuvenating cleanse, revealing its true colors and natural beauty. Bid farewell to grime and welcome back the clean, fresh appeal of your property with our reliable Power Washing System. Elevate your curb appeal and make your outdoor living spaces more inviting, one power wash at a time! Regenerate